astonishing; but have you come across wifi connectivity issue? It can be so
frustrating…
smartphones while iOS are exceptional. But we’ve compile some possible
solutions to fix any wifi connectivity issue on Android.
It’s always good to get the basics out of the way first. There’s no point going
troubleshooting if a simple reboot fixes the issue, so try these first even if
you don’t think it will fix anything.
1. Reboot your router and try reconnecting to Wi-Fi
from your phone.
2. Reboot your phone and try reconnecting to Wi-Fi.
3. Verify Wi-Fi by connecting with another device.
Next..
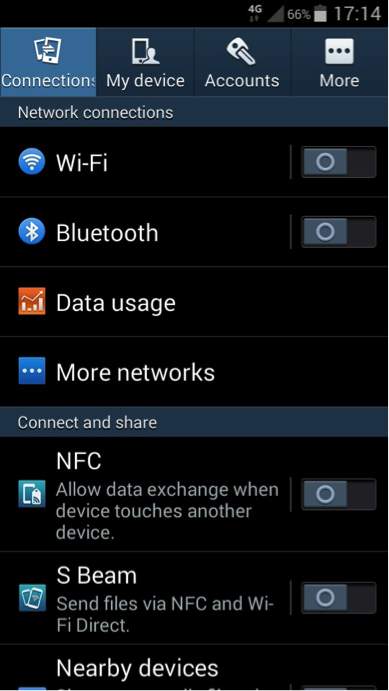
1. Select Wi-Fi from the Quick Settings drop down on
the home page.
2. Select Forget and then reconnect.
Try manually setting the frequency.
1. Access the Wi-Fi menu from Settings then select the
three dots in the top right.
2. Select Advanced, then Wi-Fi frequency band. It
should be set to Automatic.
3. Manually select the frequency used by your
router.
4. Try to reconnect to Wi-Fi.
If none of those steps work, our step of last resort is to reset all connection
from the phone. This will also reset your cell connection and Bluetooth
settings so use at your own risk.
1. Navigate to Settings then Backup and reset.
2. Select Network settings reset and then Reset settings.
3. Once the reset is complete, attempt to reconnect to Wi-Fi.
one of the above steps is sure to work out for you.
thanks for the update
Thanks prof for always updating us
Nice update. Thanks
I once had this issue with my Oukitel K10000 but Prof came to my rescue
Wow … You're a life saver prof yomi. Thanks it worked
Thanks for the update prof
I have experienced this problem just once. The common problem is connecting my laptop to my Samsung phone wifi. I don't experience this problem with my Huawei
thanks for the update
Nice tutorial
good update
Never experienced this though
Thanks alot for dis update boss
Good morning sir you site have not been going true not until this morning I decided to use vpn. I am using glo
nice update
NYC update
Wonderful Update.
this will help alot
Rebooting my phone always fix any wifi or hotspot problem it has.
Nice info. This will be of great help